


Patrolhub
"PREMIUM" Patrol Hub Front Window Banner
"PREMIUM" Patrol Hub Front Window Banner
4.67 / 5.0
(3) 3 total reviews
Couldn't load pickup availability
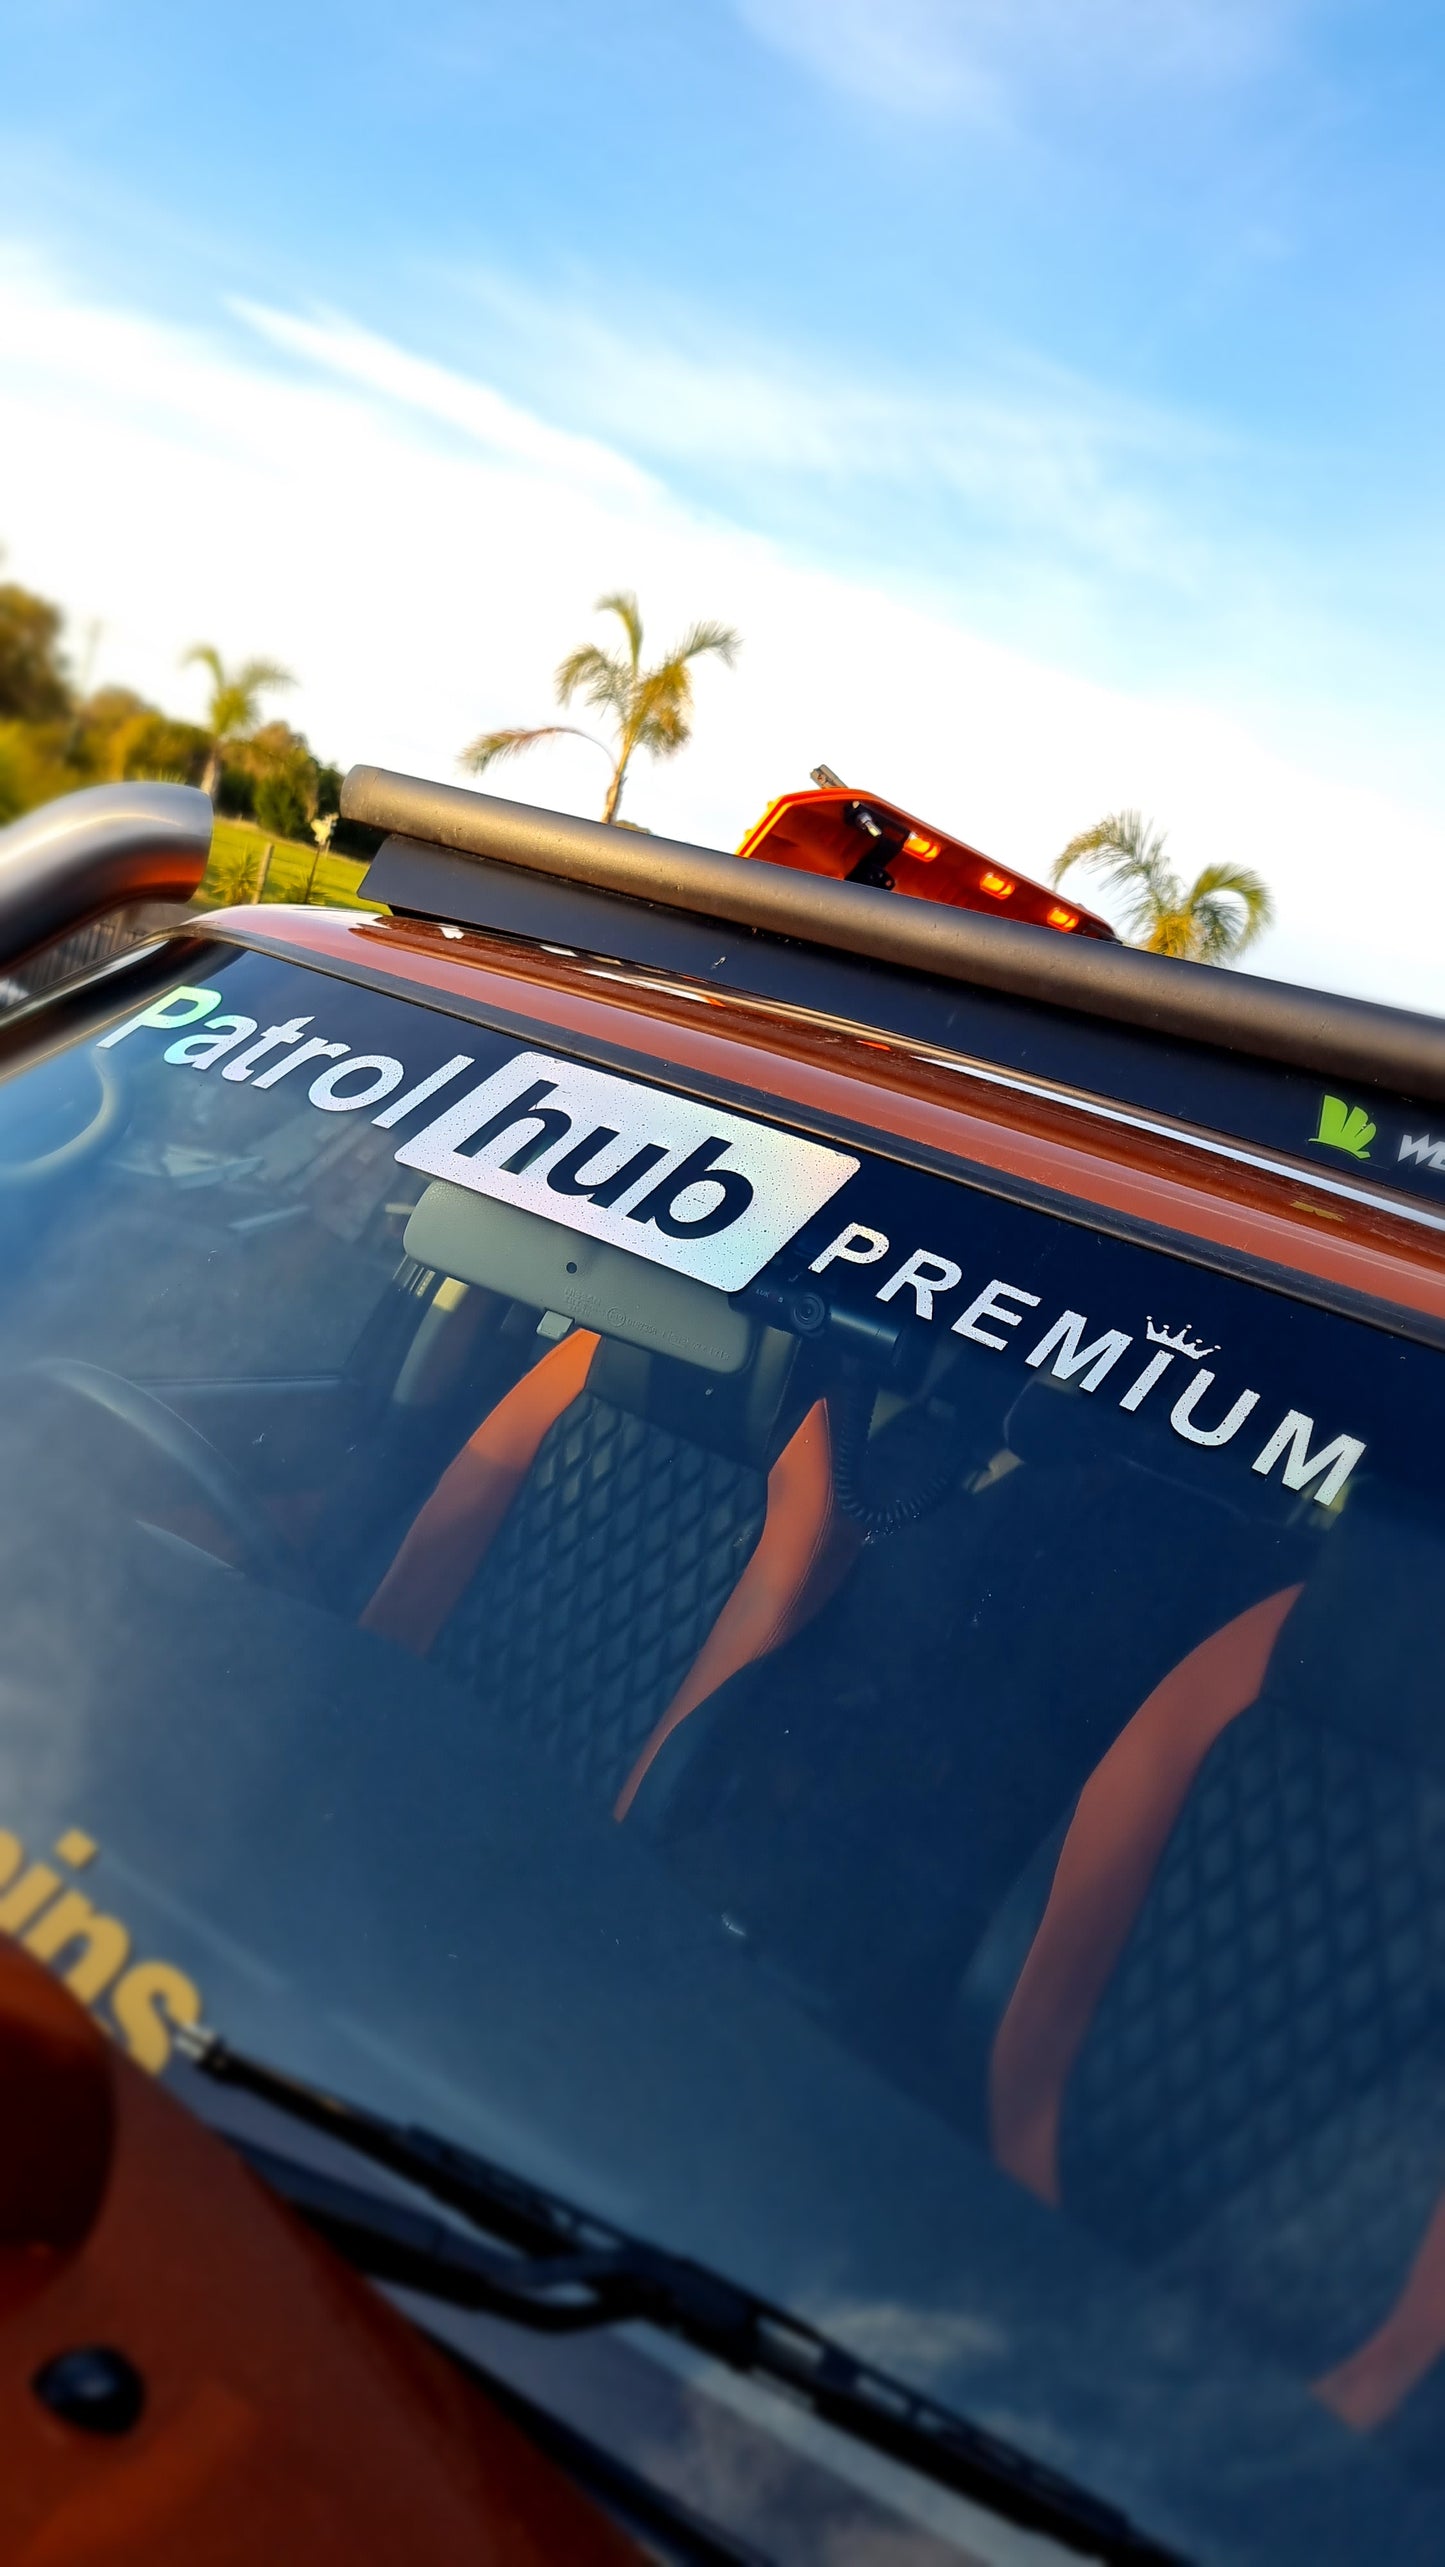
Introducing our Premium Patrol Hub window banner designed exclusively for the Nissan Patrol. Elevate the appearance of your vehicle with this high-quality accessory, available in three stunning options: Orange, Pink, and mesmerizing Holographic. Crafted with attention to detail, this window banner adds a touch of sophistication and style to your Nissan Patrol. Stand out from the crowd and showcase your unique personality with the Premium Patrol Hub window banner, a must-have for any Nissan Patrol enthusiast. Make a bold statement and turn heads wherever you go with this exceptional automotive accessory.
Window Banner is 910mm Long
Application Guide:
Step One - Surface preparation
Dirt and dust particles will cause vinyl lettering to bubble and not to stick properly.
- Clean the destination surface to remove any dirt and oils.
- Dry surface thoroughly.
Step Two - Vinyl decal preparation
The vinyl decal may have pulled away from the transfer tape during shipping. This action will adhere the vinyl decal to the transfer tape
- Place the product (clear side up) on a smooth flat surface such as a table.
- Take a squeegee and rub firmly across the entire decal. Start from the center and work out to the edges.
Note: If you do not have a squeegee use your fingertips or the sharp edge of a credit card, plastic ruler or similar object.
Step Three - Position the vinyl decal
- Place the decal on the destination surface.
- Level and center the decal. Pay special attention to level and center the vinyl decal itself and not the backing paper/transfer tape.
Note: Draw horizontal guidelines in the area you wish to apply your lettering. You can use a wax pencil or if you don’t have a wax pencil you can use regular masking tape. Tape in place on one side only (the top, bottom or either side, however you feel more comfortable) to use as a hinge, using masking tape enclosed.
Step Four - Remove the backing paper
- Peel the backing paper away from the DECAL and MASK LAYER starting at the opposite side of the masking taped hinge.
- Remove backing paper slowly. At an angle, slowly peel away the backing paper underneath without touching the sticky vinyl.
Note: The vinyl decal should stay adhered to the clear transfer tape. If it starts to separate, help it stay together.
- Slowly roll the sticky vinyl and transfer tape onto the destination surface starting from the tape hinge-side.
Note: Go very slow and work out any air bubbles with a credit card or your fingers as you go.
Step Five - Secure the vinyl decal to the surface.
- Rub the transfer tape. Start from the side with the tape and gently work away from the tape to the edges to help remove any leftover air bubbles
Note: After the image is on the surface, rub the entire image applying pressure to adhere the vinyl to the surface.
Step Six - Finish!
- Gently peel away the transfer tape starting from one corner pulling down at a tight angle across the vinyl decal.
Note: Be patient and go slow. Once the transfer tape is removed you are done.
Share


Good
Looks great and not too hard to put on. One of the letters is peeling a little tho after a week
Fancy love it on my gu series 4.